
Lawn Bowling
Create your own bowling alley with the use of your porch or driveway and soda bottles upcycled into bowling pins.

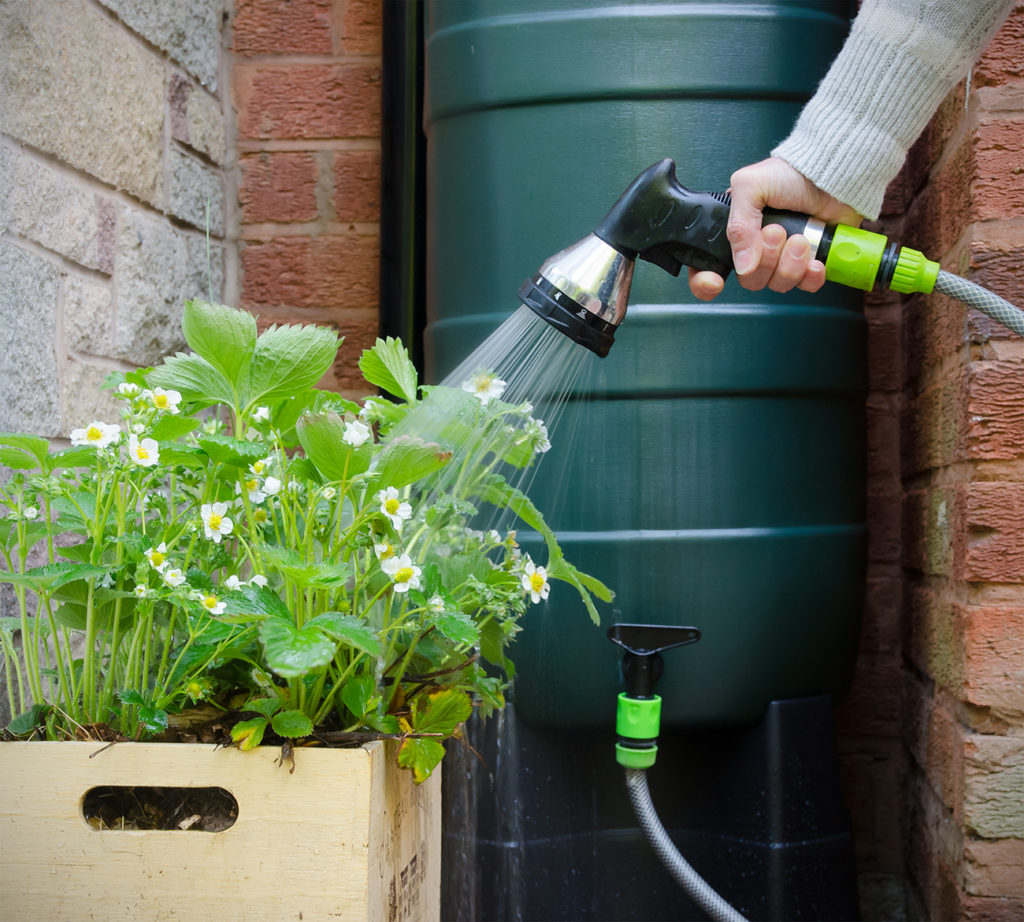
Rain Barrel
Saving a few dollars on your water bill is as easy as building a rain barrel.

Cornhole Boards
This classic backyard game is perfect for everyone to spend a great afternoon on the lawn.

Fire Pit
A cool night is made cozier with a fire pit where we can share stories, watch the stars and make s’mores.

Oversized Dominoes
Take your dominoes game to a new scale with large dominoes.

Giant Jenga
Make this game of strategy and patience more fun by taking it outdoors.