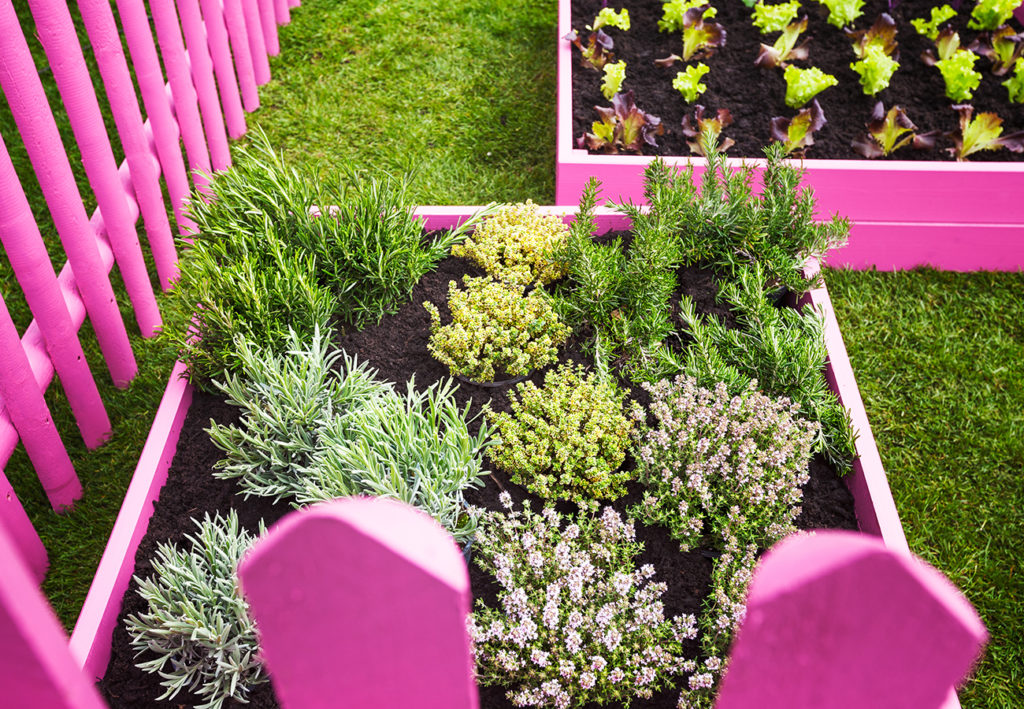
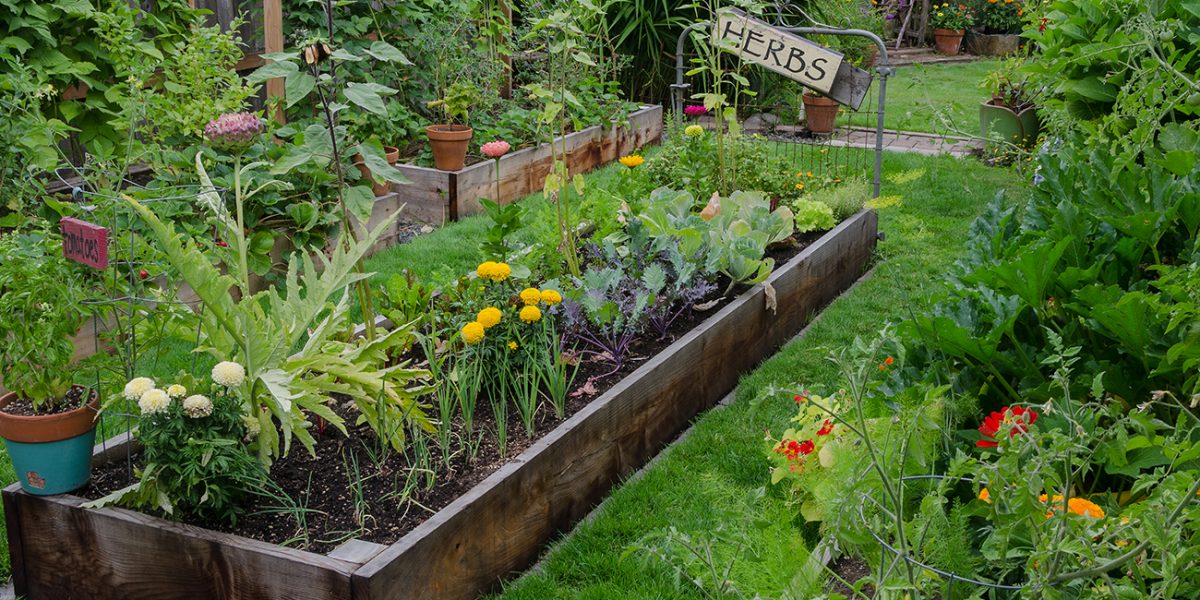
Adding a raised bed to your backyard makes gardening a bit easier by extending the season and use fertilizers that may harm your lawn.
Materials
- 3- 8 ft x 2 "x 12" pressure treated boards
- 4-inch deck screws
- Cardboard or newspaper
- Garden soil
Tools
- Measuring tape
- Pencil
- Carpenter’s square
- Circular or hand saw
- Drill with a Phillips head bit
- Shovel
- Rake
Find the best location in your yard for placing your raised bed. Look for a level area with ample sun exposure, good drainage, and easy to access for plant care. Clear area of any yard rubbish, rocks or sticks and you’re off to a great start.
Step 1
Measure and cut the 8 ft board in half, making two 4-foot pieces.
Step 2
Measure in ¾” from each end of the new 4 ft boards and drill pilot holes for screws at 3, 6 and 9 inches. Partially sink three screws into the board.

Step 3
Hold one of the 8 ft boards on its side and line up the end of one the 4 ft board at a 90 degree angle with the screws facing the end of the longer board. With the drill, sink the screws into the board.
Step 4
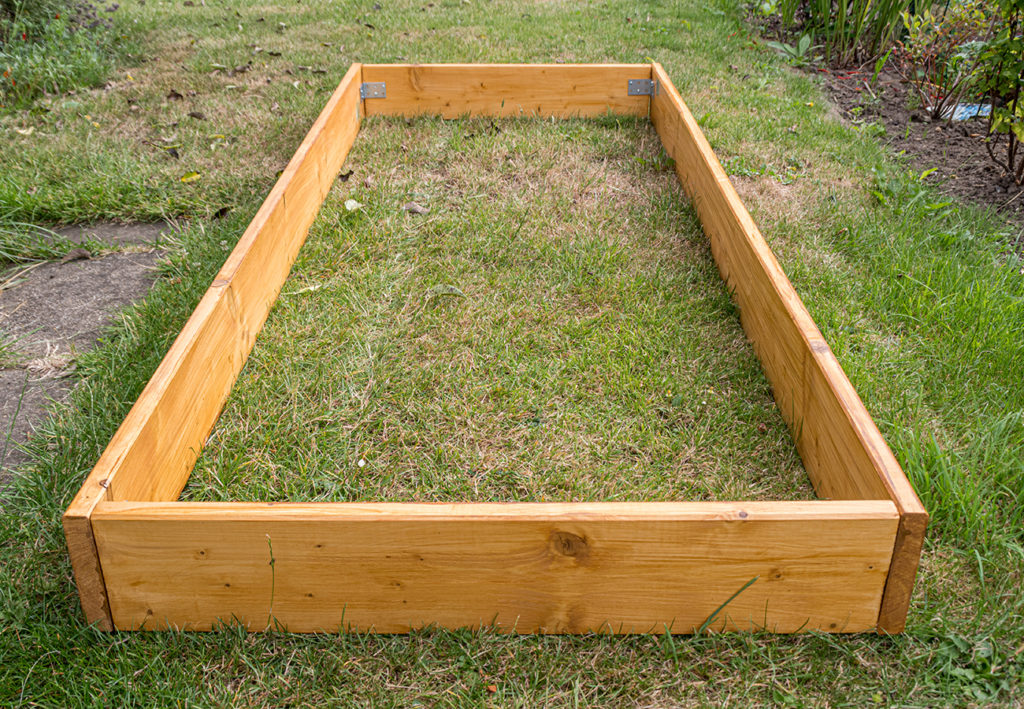
Hold remaining 8 ft board perpendicular to the attached 4 ft board at the free end. Use a carpenter’s square to line up at 90 degrees and sink screws in to attach.

Step 5
Repeat this process at the other end, again using the carpenter’s square to make sure angles are square.
Step 6
Make sure your newly constructed bed frame rests evenly on the ground making certain there are no gaps between the bed and the ground. You may need to use your shovel to dig/level the ground to eliminate gaps.
Once level, place layers of cardboard or newspaper to completely cover the existing ground. This barrier will reduce weed growth in your raised bed.
Step 7
Your raised bed is ready to be filled with soil mixture (8 cubic feet, or around nine 20-quart bags, for a 32-sqft, 12-inch deep bed). Be sure to leave a minimum of ½” from top of board. Use rake to level soil surface.
Helpful tip: The size of raised beds can easily be adapted to suit location or materials. For best results, raised beds should be a minimum of 12” deep and the width should not exceed 4 ft for effortless plant caring and harvesting.
Cornhole Boards
This classic backyard game is perfect for everyone to spend a great afternoon on the lawn.
Giant Tic-Tac-Toe
This large-scale version of the board game is a treat for everyone. DYI project with full instructions.
Lawn Bowling
Create your own bowling alley with the use of your porch or driveway and soda bottles upcycled into bowling pins.


