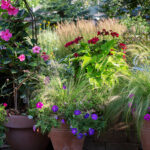
A lot of spring bright flowers in clay pots stand in a row.

Planting Bulbs in Containers

Get the last bit of color out of the season while setting yourself up for a burst of blooms in early spring with bulbs. Planting spring blooming bulbs in containers gives you something to look forward to during the winter months and is a simple project you can do in no time at all.

1. Make a list of what you need

Container

Select a container with a drainage hole that is sturdy enough to withstand the harsher elements. (Keep in mind that your container size will need to accommodate proper planting depths.) Delicate containers may not survive the freezing and expanding that occurs in winter, resulting in cracking. Plastic containers can be used and then placed in decorative containers after the worst of winter is behind us. 

Soil and Feed

Use a quality potting soil with good drainage. Don’t use garden soil as it will become too waterlogged. Also avoid reusing soil from an existing planting as it will encourage disease. A slow-release fertilizer will give your bulbs just enough nutrition to make it to spring.

Bulbs

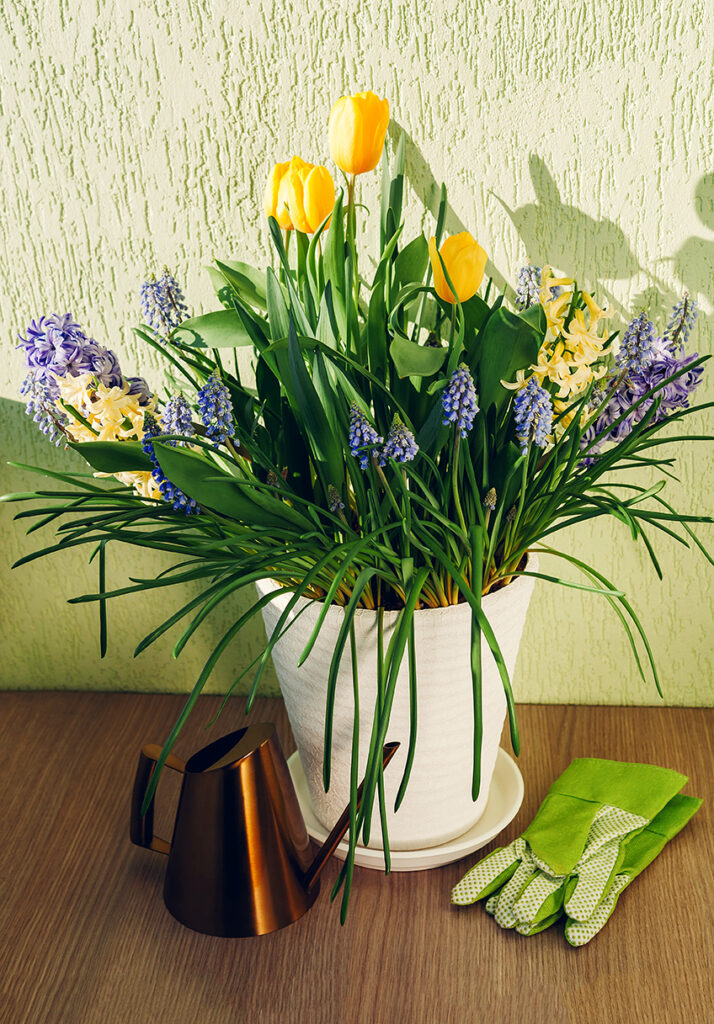
Select bulbs of varying bloom times and sizes. This will ensure that your spring color comes on strong and lasts until it’s time to get your summer annuals installed. Bulbs bloom in early, mid-, or late spring and come in a variety of shapes, colors and fragrances. Have a go at some of the tried-and-true choices such as crocus, hyacinth, daffodils, and tulips.

Other odds and ends

Use screen mesh or landscape fabric at the bottom of the pot to prevent soil spillage when filling the container. 
A ruler for proper planting depth recommendations. 
Pea gravel, bone meal, cayenne pepper or coffee grounds on the soil surface to discourage critters from digging up the bulbs. 
Insulation like straw, burlap, or bubble wrap.

2. Follow the lasagna method

For best results, read the planting instructions that come with your bulbs. They will give you the bloom time and proper planting depth your bulbs need to succeed. When planting bulbs in containers, use a layering method for optimal blooms called lasagna planting. 

First layer

After you have filled your container about 1/3 full with potting soil, start with planting the biggest, latest blooming bulbs, like tulips. Spacing your bulbs is more concentrated in containers.

Second layer

Add another layer of soil (about four inches) and add another layer of bulbs. For this example, let’s do a mid-spring bloomer like daffodils. Add one more layer of soil.

Third layer

This last layer is closest to the surface and will be the first to bloom, like grape hyacinth or crocus.
Finish it off with a final layer of soil, add some mulch or stone on top and water well. And there you have it!  

Take necessary measures to keep your newly planted bulbs safe from damage. Add a layer of stones or pea gravel to discourage squirrels from digging up your bulbs. Bone meal, cayenne pepper or coffee grounds sprinkled on the surface have also been known to deter critters.

In areas where winter is more severe, you can move your container to a shed or unheated garage. If you are leaving your containers outside, you may want to tuck them in. Group your containers together. Use straw or leaves to insulate the surface and sides.  If you are on a deck or balcony, try wrapping the sides with bubble wrap but keep the bottom open to allow for drainage.

Now all that is left is the anticipation! Once the coldest part of winter has passed, you can remove any insulation you had installed. This will be the signal that spring is on the way and soon enough, it will be your bulbs’ time to shine!

Share this post